Why I Switched to the Soil Block Method for Seed Starting
The soil block method changed the way I start seeds. Learn how it reduces transplant shock, saves space, and simplifies indoor seed starting.
1/30/20266 min read
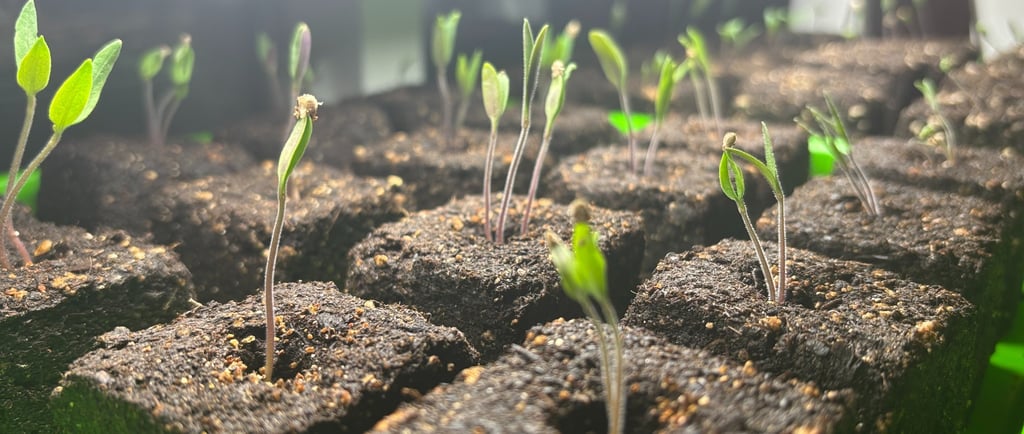
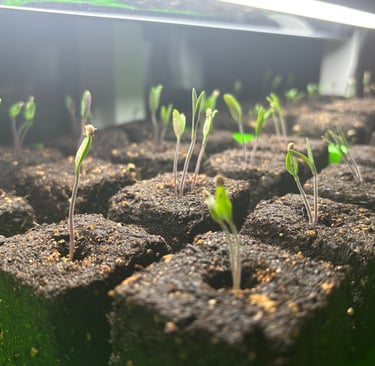
Above are my seedlings planted by soil blocking last year! It was so satisfying to watch them grow so healthy and happy. I can't wait to share the process with you below.
This post contains affiliate links. I may earn a small commission fee if you make a purchase through the links. Thank you.
So... what is seed starting and the soil block method?
Seed starting is an essential part of gardening, providing you with the opportunity to cultivate a variety of plants right from their seeds and germinate from root to bloom on your own before your zone's first frost date so your babies are ready for planting outside once hardened off! For me, starting my veggies by seed is such a therapeutic process. Watching them start as little seedlings and nurturing them through each stage until harvest brings so much joy. There is always something to learn which makes gardening so incredibly fun and enjoyable. Once I transitioned from traditional seed starting in plastic trays to soil blocking, I was amazed by how healthy my seedlings were and how quickly they grew in comparison to traditional seed starting. I am excited to share my method & go to products with soil blocking and how this will be the only way I start my seedlings going forward!
Not only is soil blocking good for the environment, with less use of plastic, it prevents the roots from becoming root bound, prevents transplant shock, and helps your seedlings to become more drought resistant! It might seem like an investment at first but you will reuse everything year after year! No more plastic seed trays and a more sustainable method in your garden practice.
What tools do you need and how can we make this simple?
Soil Medium
I am a big fan of FoxFarm Coco Loco for seed starting because it provides excellent aeration and drainage, promoting healthy root development. The mix retains moisture well but allows excess water to escape, reducing the risk of overwatering. Additionally, it contains beneficial nutrients and organic matter that support seedling growth.
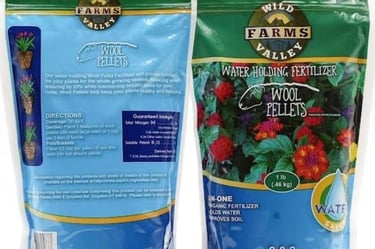
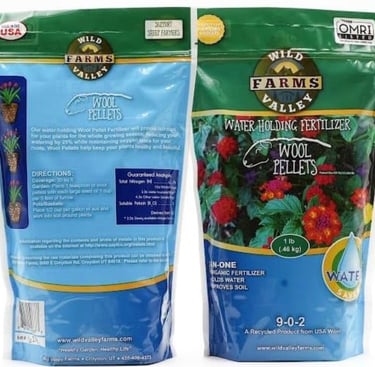
Adding wool pellets slowly release nitrogen, boost moisture retention, and is an eco-friendly soil binder for soil blocking - helps keep it all together!
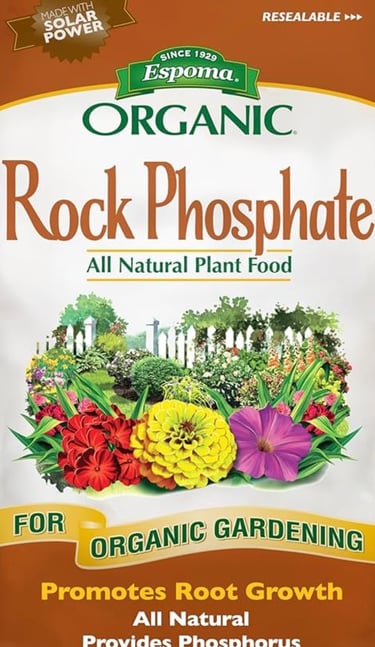
Soil Additives: Worm castings, Mycorrhiza, and Rock Phosphate
Worm castings are rich in nutrients and beneficial microorganisms that enhance soil fertility, improve structure, and promote healthy plant growth. Mycorrhiza, on the other hand, forms symbiotic relationships with plant roots, enhancing nutrient and water uptake. Together, they create an optimal environment for seed starting by boosting root development and overall plant health. Rock phosphate is an organic nutrient rich in phosphorus, an essential element for plant growth. It promotes strong root development, enhances germination rates, and improves nutrient uptake. Best of all, it is incredibly sustainable and environmentally friendly!
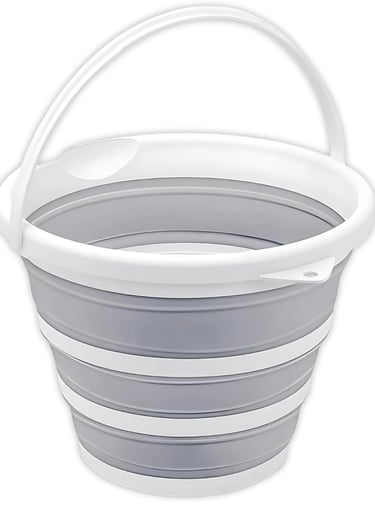
Bin or bucket to mix the soil in - I personally really like this one from Amazon that is collapsable. Easy to clean and store!
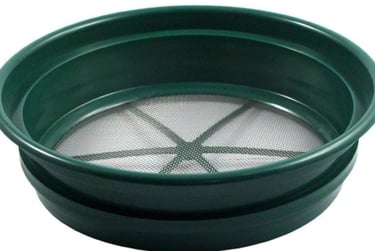
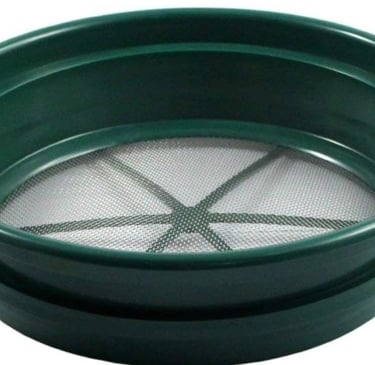
Sifter to separate larger chunks from the soil to allow for the blocks to form a clump-free mixture that binds together properly once compressed!
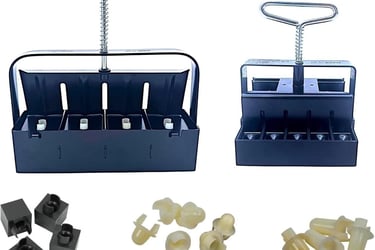
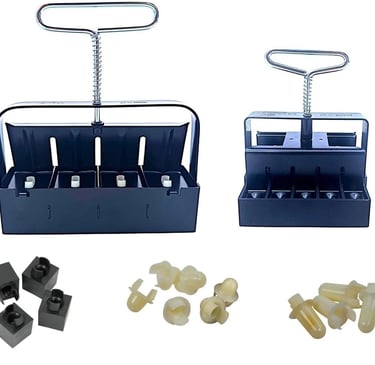
Soil blocker! I have the three main sizes - micro (3/4"), medium (2"), and the large blocker (5"). If you are looking to germinate several seeds for a larger scale garden, the micro would be very helpful as a way to save space however it would require potting up. The micro is also great for those planning on germinating small seeds, those with slow germination, and herb seeds. I found the medium size, 2" blocker, to be perfect for my smaller city garden and really does not require potting up. I did purchase the larger blocker and potted up a few tomatoes and peppers with it - it was so cool that each size pots up perfectly inside the next with use of the right pins. To pot up from the micro to medium sized blocks, use 3/4" pins when making your 2" blocks.
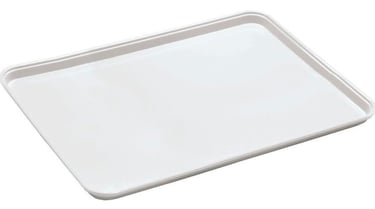
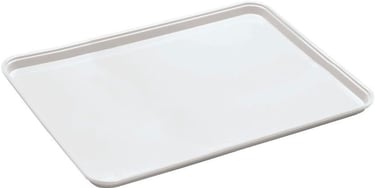
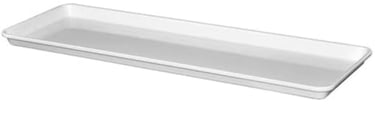
If looking to invest in the perfect, sustainable, plastic-free trays for your blocks, I highly recommend these fiberglass trays! You can play around with the sizes desired based on your layout and seed starting space at home.
Lastly, a multifunctional tool I use in the garden, a Hori Hori, for planting, weeding, and digging, can also be useful to mix the soil medium together and scrape off excess soil when forming the blocks!
Steps to Soil Blocking
Mix 4 parts FoxFarm Coco Loco (sifted) with 1 part of wool pellets with one scoop of worm castings, one scoop of mycorrhizae, and one scoop of rock phosphate
Use about 2 to 3 parts of water for every 4 parts of dry mix - it should have the consistency of peanut butter or wet concrete. When you squeeze a handful, a few drops of water should come out, and the clump should hold its shape perfectly.
Pack the wet mix tightly into the soil blocker to ensure firm, stable blocks, and scrape off any excess soil to make a flat surface for when they are placed on to your trays.
Place 1-2 seeds in blocks to avoid having to thin.
I like to cover my seedlings lightly with Vermiculite
When it comes to watering - let your soil bocks absorb water by bottom watering. Once you see that the blocks are saturated, tip your trays to poor out excess to prevent algae and mold from growing.
Additional helpful tools for seed starting I use
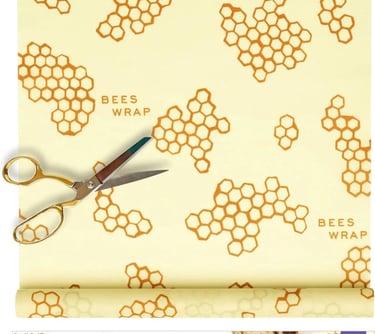
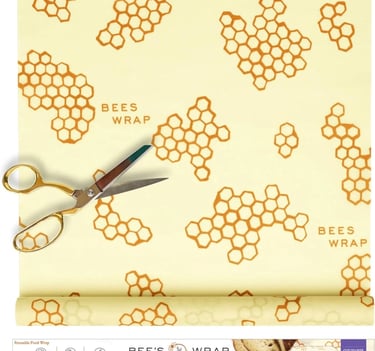
Beeswax Wrap - Make your seed starting process completely plastic free! Cut Beeswax to fit over the top of your soil blocks as a way to retain moisture for seed germination! I bought this product last year and cut to fit how I needed it with each tray.
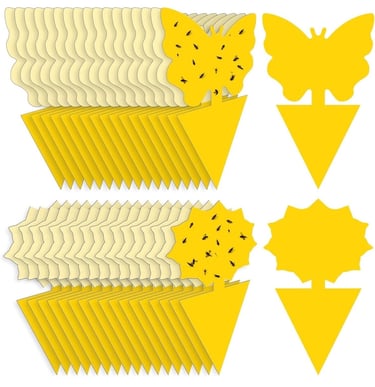
Fruit fly traps - Fruit flies are inevitable with seed starting. Prevention and adding these handy sticky traps are key!
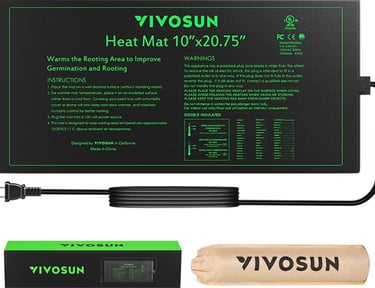
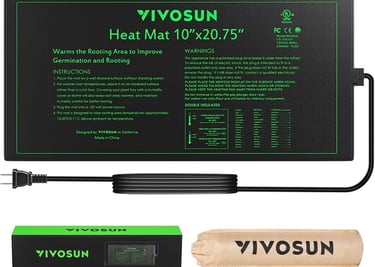
Heat Mats, providing consistent bottom heat, critical for successful germination.
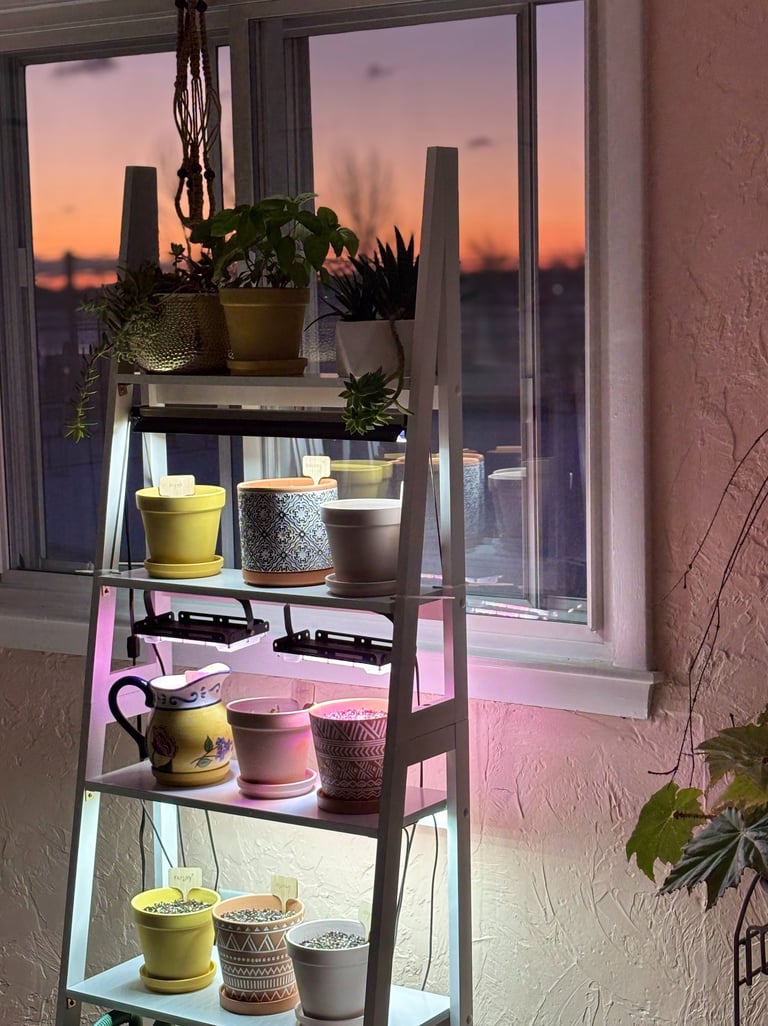
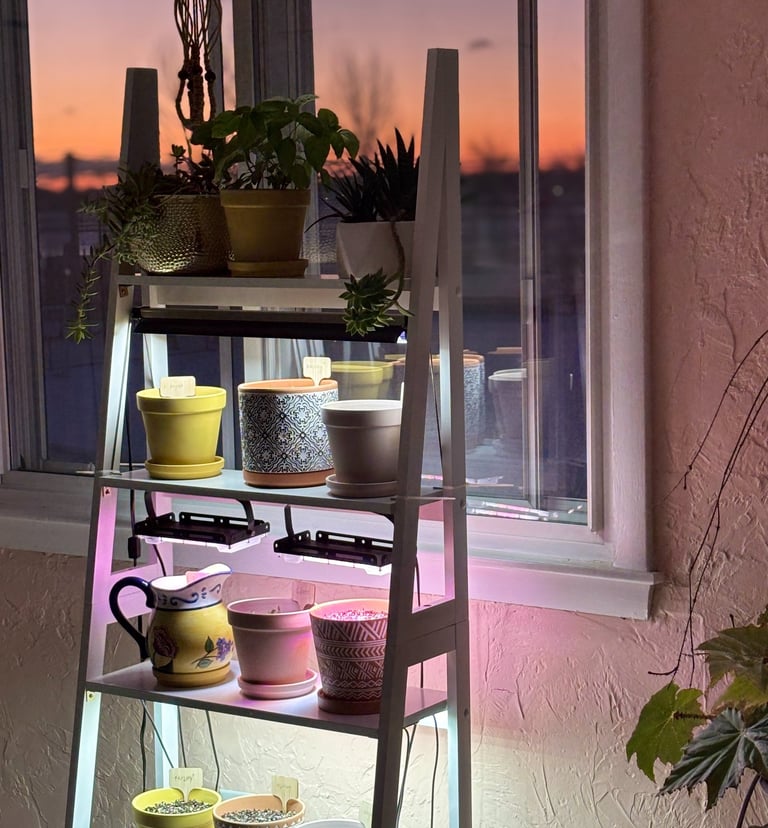
Grow Lights - I plan on doing a review of several grow light options but ultimately to prevent your seedlings from becoming leggy and allow for strong, stocky stem and leaf growth, seedlings need bright, direct light consistently for 14-16 hours per day. These are a few examples of reputable options. I purchased a few from Amazon over the years and actually drilled them to the tops of four shelves where I place my seedling trays each season. This shelving unit is also next to a south facing window.
Here is a photo of my shelving unit with my indoor herb garden!
Standing Fans - fans not only circulate air to prevent algae and mold growth but help seedlings develop strong stems in preparation for outside. Although this does not replace hardening off, whatsoever, I have found it to be pivotal to not only make my seedlings stronger but also help with fruit fly prevention!